Last week, as I was going through an online Chevy engine repair community, I accidentally bumped into a message from a guy.
He was complaining about how his Chevy S10 engine constantly stopped working even after going through a series of repairs.
So, I suggested he do an entire engine replacement but he had no idea how to go about it.
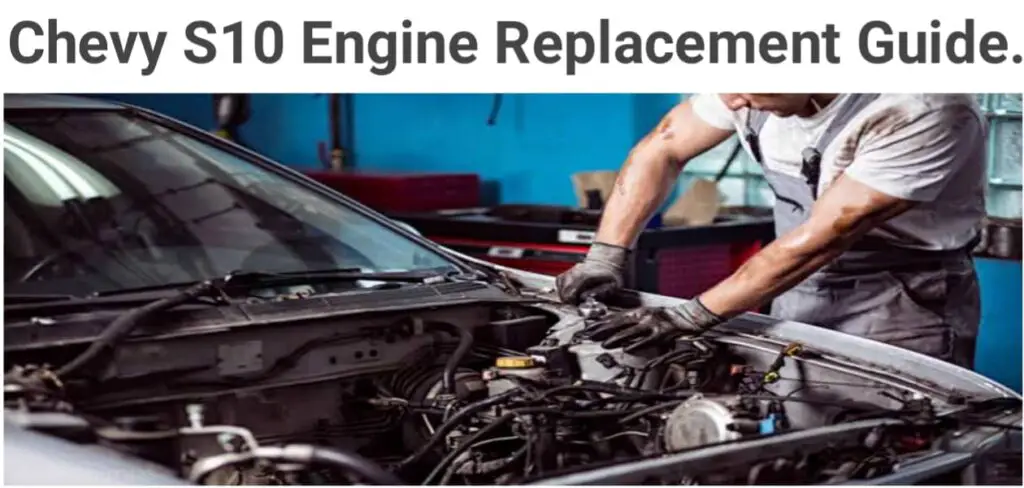
This inspired me to write this Chevy S10 engine replacement guide so that you can do it yourself.
Chevy S10 Engine Replacement: How To Guide

Follow this guide to replace your Chevy S10 engine:
- Remove the cover of the relay box which is on the driver’s side; close to the fender liner.
- Use your fingers to pull the fuel pump relay out of its socket.
- Start running the engine and stop when it stalls.
- Use a wrench to disconnect the negative terminal of the battery.
- Drain the coolant by loosening the petcock.
- In the hood, disconnect the vacuum reservoir and the light under the hood.
- Use a screwdriver to detach the outer cowl vent grilles.
- Mark the hood and its location for easy identification during reinstallation and use a socket to remove the hood.
- Jack and support the front part of the vehicle with a jack and a jack stand.
- Remove the bolt on the oil pan and drain the oil. Replace the bolt with a wrench and dispose of the oil.
- Unscrew the oxygen sensor with a ratchet wrench and remove the exhaust manifolds with a socket.
- Use the sockets to detach the hanger at the catalytic converter, the skid plate, braces, and the line clamp at the bell housing.
- To remove the starter, use a marker to label all the wires and vacuum lines and use a wrench to remove the starter wiring. Then, use a socket to remove the starter.
- Use the oil filter wrench to remove the oil filter.
- Detach the engine mount, and the crossbar nut and washer of the rear engine mount, using a wrench.
- Use a socket to detach all the bell housing bolts except the upper left bolt.
- Use a socket to disconnect the negative battery cable from the engine and screw out the clamps holding the air duct with a screwdriver. Then, take out the air duct and air cleaner assembly.
- Detach the upper radiator shroud and the fan assembly with a socket.
- Attach a socket on the bolt located at the center of the tensioner pulley, and turn the pulley to the center of the engine. Remove the bolt and use a socket to detach the water pump pulley.
- Remove the upper and lower hoses at the radiator by loosening the clamps holding them.
- Disconnect the wiring connector on the air compressor and unbolt the compressor from its bracket.
- Using a line wrench, disconnect the oil cooler lines and use a screwdriver to detach the overflow hose. To stop a leak from occurring, bolt the cooler openings.
- Use a socket to take out the bolts on the radiator and the lower radiator shroud.
- Use a line wrench to disconnect the power steering hoses from the steering gear.
- With a screwdriver, take out the heater hoses from the intake manifold and the water pump.
- Terminate the connection of the wiring harness and vacuum lines with the engine.
- Take out the throttle cables with a socket and screwdriver. Ensure that you use a marker to label the plug wires.
- Break the connection between the power steering hoses and the steering gear by separating them. Cover the openings of the hoses to prevent fluid loss.
- Use a screwdriver to detach the distributor cap from the distributor and remove the rotor. Use the distributor wrench to remove the bolt on the distributor and remove the distributor from the engine.
- Jack up the transmission and support it with a jack stand. Use a socket to pull out the last bell housing bolt and use a line wrench to disconnect the fuel lines. Then, take off the fuel line bracket with a socket.
- Use a wrench to remove the ground straps from the rear of the heads. Attach a hoist to the engine and raise the engine out.
- Get the new Chevy S10 engine and compare it with the old one to ensure that they are of the same specification.
- Place the new engine in the position occupied by the old one and replace the ground straps to the rear of the heads with a wrench.
- Re-connect the fuel lines, replace the last bell housing bolt with a socket and drop the jacked-up transmission.
- Cautiously replace all the connections, bolts, nuts, wirings, and parts that were previously removed with the appropriate tools. Ensure that all tightenings and connections are done properly.
Check out this chevy 350 engine diagram to help you know the exact locations of the wires in the engine.
Checks To Confirm A Successful Chevy S10 Engine Replacement
With your Chevy S10 engine replacement successfully carried out, there are still some checks you need to carry out.
Follow these steps to check if your Chevy S10 Engine Replacement is correct:
- Start the vehicle and listen attentively to be sure that there is no rattling sound.
- Make sure that there is no check engine light issue.
- Take the vehicle out for a road test.
Tools Required For Chevy S10 Engine Replacement
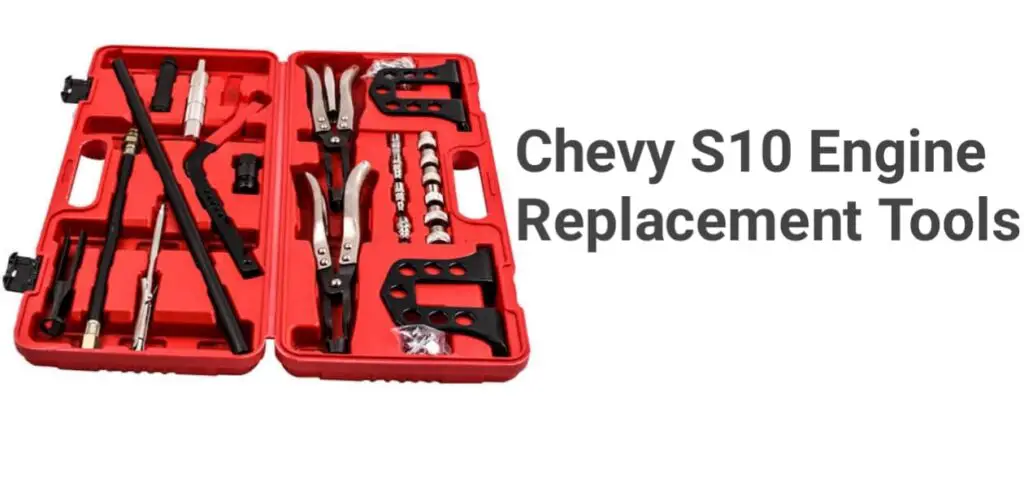
Replacing a Chevy S10 engine without the right tools is not ideal. It will not only disrupt your coordination but will also negatively affect the success of the engine replacement.
The Tools Required For Chevy S10 Engine Replacement are:
- Pry tools.
- Ratchet and socket set
- Wheel chocks.
- A jack and a jack stand.
- Repair manual.
- Safety glasses.
- Wrench set.
- Drain pan.
- Engine hoist.
- Screwdriver.
Chevy S10 Engine Replacement Cost
The cost for Chevy S10 engine replacement ranges from $200-$1000. It all depends on your location and the type of labor you are hiring (personal or professional).
If you don’t have enough money to get a professional for the job, there is no cause for worry.
Chevy S10 engine replacement is not complicated. Provided that you have a proper guide, you can do it yourself.
I am pretty sure that with the help of the step-by-step guide for Chevy S10 engine replacement in this article, this task will be “easy-peasy” for you.
Where Can I Find Chevy S10 Engine for Sale?
These are the top sites where you can find Chevy S10 engines for sale:
- eBay.
- Advance Auto Parts.
- Auto Zone.
Check out these common problems with chevy 305.
What Are The Signs Of A Faulty Chevy S10 Engine?
Knowing the signs of a faulty chevy S10 engine and their solutions will help you to make the engine last longer.
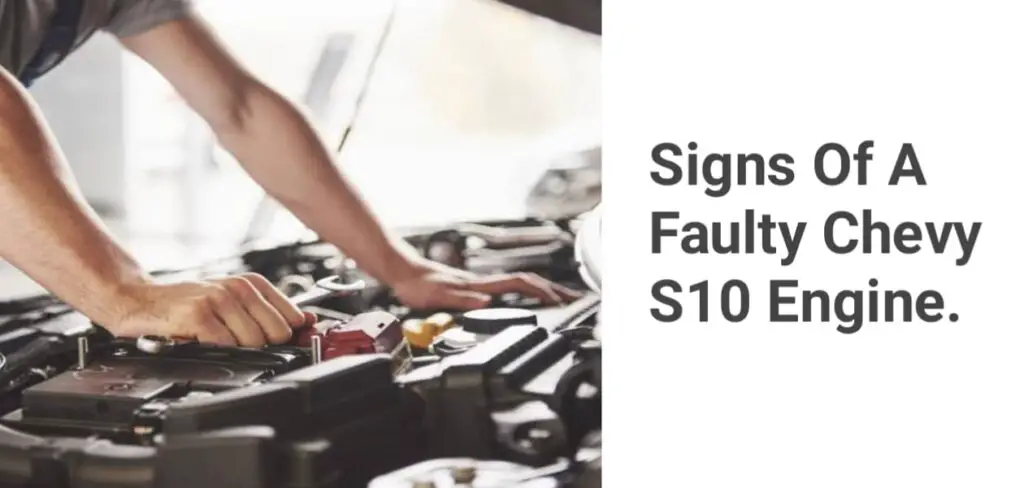
- Check engine light starts as a result of an engine misfire.
- Reduction of the speed of the vehicle.
- Increase in the combustion rate of the vehicle.
- Difficulty in starting the engine or inability of the engine to start at all.
- Production of rattling sounds.
Once any of these signs are detected, promptly call for a mechanic to get it fixed before it develops into a serious problem.
Conclusion
Performing periodic maintenance on your Chevy S10 engine is all you can do to help it live longer for you.
Chevy S10 engine replacement does not have to be a difficult task for you.
By following the steps mentioned in this article, you can carry out a Chevy S10 engine replacement by yourself at an affordable cost.